Welcome! You have selected the perfect gift for someone, and now it is time for the perfect giftwrap. The following steps below should work for any size or shape package.
|
|
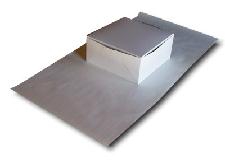
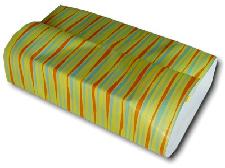
| First, you need to measure the paper.
Place the gift upside down on the paper.
|
|
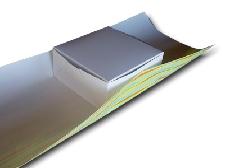
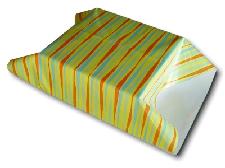
| Next, measure and cut the ends of the paper. On a long box, this would be the shortest sides. Cut the paper so that it goes up the side of the package at least halfway, but DO NOT tape it yet.
|
|
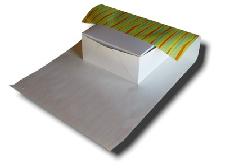
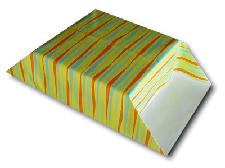
| Measure and cut the paper the other direction so that the paper wraps all the way around over the package and overlaps with itself.
|
|
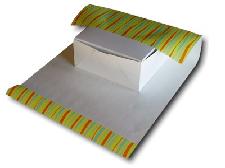
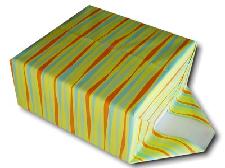
| Tape one end of the paper to the box a little more than halfway across the box. It is best to use tape that is specifically made for giftwrapping since it is designed to be completely transparent and will not show. This is especially important with metallic papers.
|
|
| Fold the other end of the paper over slightly to make a straight edge, and size the fold so that when you fold it and tape it to the box that it will be exactly halfway across the package.
|
|
| Tape the folded end onto the package.
|
|
| Fold down and tape both ends of the paper to the ends of the package.
|
|
| Crease all four sides of the paper so that the paper is flat against the ends of the box.
|
|
| Fold down and crease all four sides of the paper. Tape these four folds in place against the end of the package for the cleanest look.
|
|
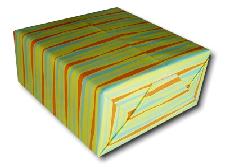
| Finally, tape up the two flaps against the two ends of the pagkage. Fold over the ends of the flaps slightly first before taping up on the box for the cleanest look.
|
|
| Next, you will be putting the ribbon on. Measure the ribbon out so that it wraps around the package once in both directions, with about two extra feet for the bow, and cut.
|
|
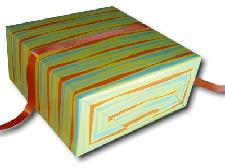
| Find the center of the ribbon, put the best looking side up, and lay it on the top of the box across the center.
|
|
| Flip the box over, cross the two ends of the ribbon over itself, and pull it tigthly in the other directions.
|
|
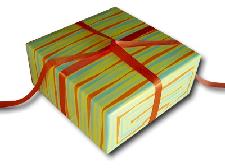
| Flip the box back over, and make a half knot in the center of the package. We recommend that you do not make a full knot at this time. If you do, then your gift recipient will have to pick apart the knot or hunt for a pair of scissors to cut it off. They should be able to just pull the ribbon and go!
|
|
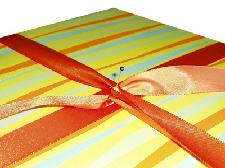
| Tying the bow is really exactly the same as tying your shoes: you make a half knot, then make the bow. With ribbon, it can be tricky to keep the half knot tight while tying the bow, so we suggest putting a pin through the half knot at this time before tying the bow. This is also a really great time to add something to the top of the gift that will be tied into the ribbon for a really unigue gift.
|
|
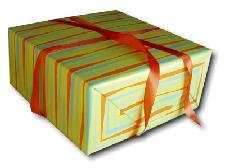
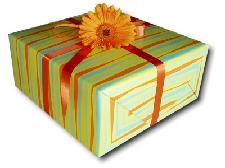
| Tie the bow, remove the pin if you used one, and your gift is ready to give!
|
|
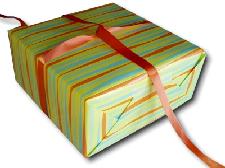
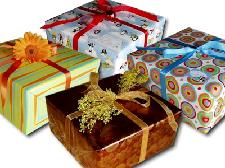
| If you decided to add something before finishing the bow, then it may look something like this. You could tie just about anything onto the box: a flower, a charm, a toy, or an ornament, whatever expresses the personality of the gift or its lucky recipient.
|
|